Apr 25, 2017
Resurfacing a Desk
After getting a planer I decided to resurface the first desk I built so it could be used for writing without glass on top.
After getting a planer, I decided to resurface the first desk I built so that it could be used for writing without needing a glass cover. In this post, I’ll take you through the process of how I did it and share some pictures along the way.
First, I ripped the table apart down the glue lines from its original construction with a circular saw. I thought it would be easier and safer to use a circular saw than trying to push a big uneven table top through the table saw. Although after a couple of cuts with the circular saw to remove some weight and size, it would have probably been easier on the table.
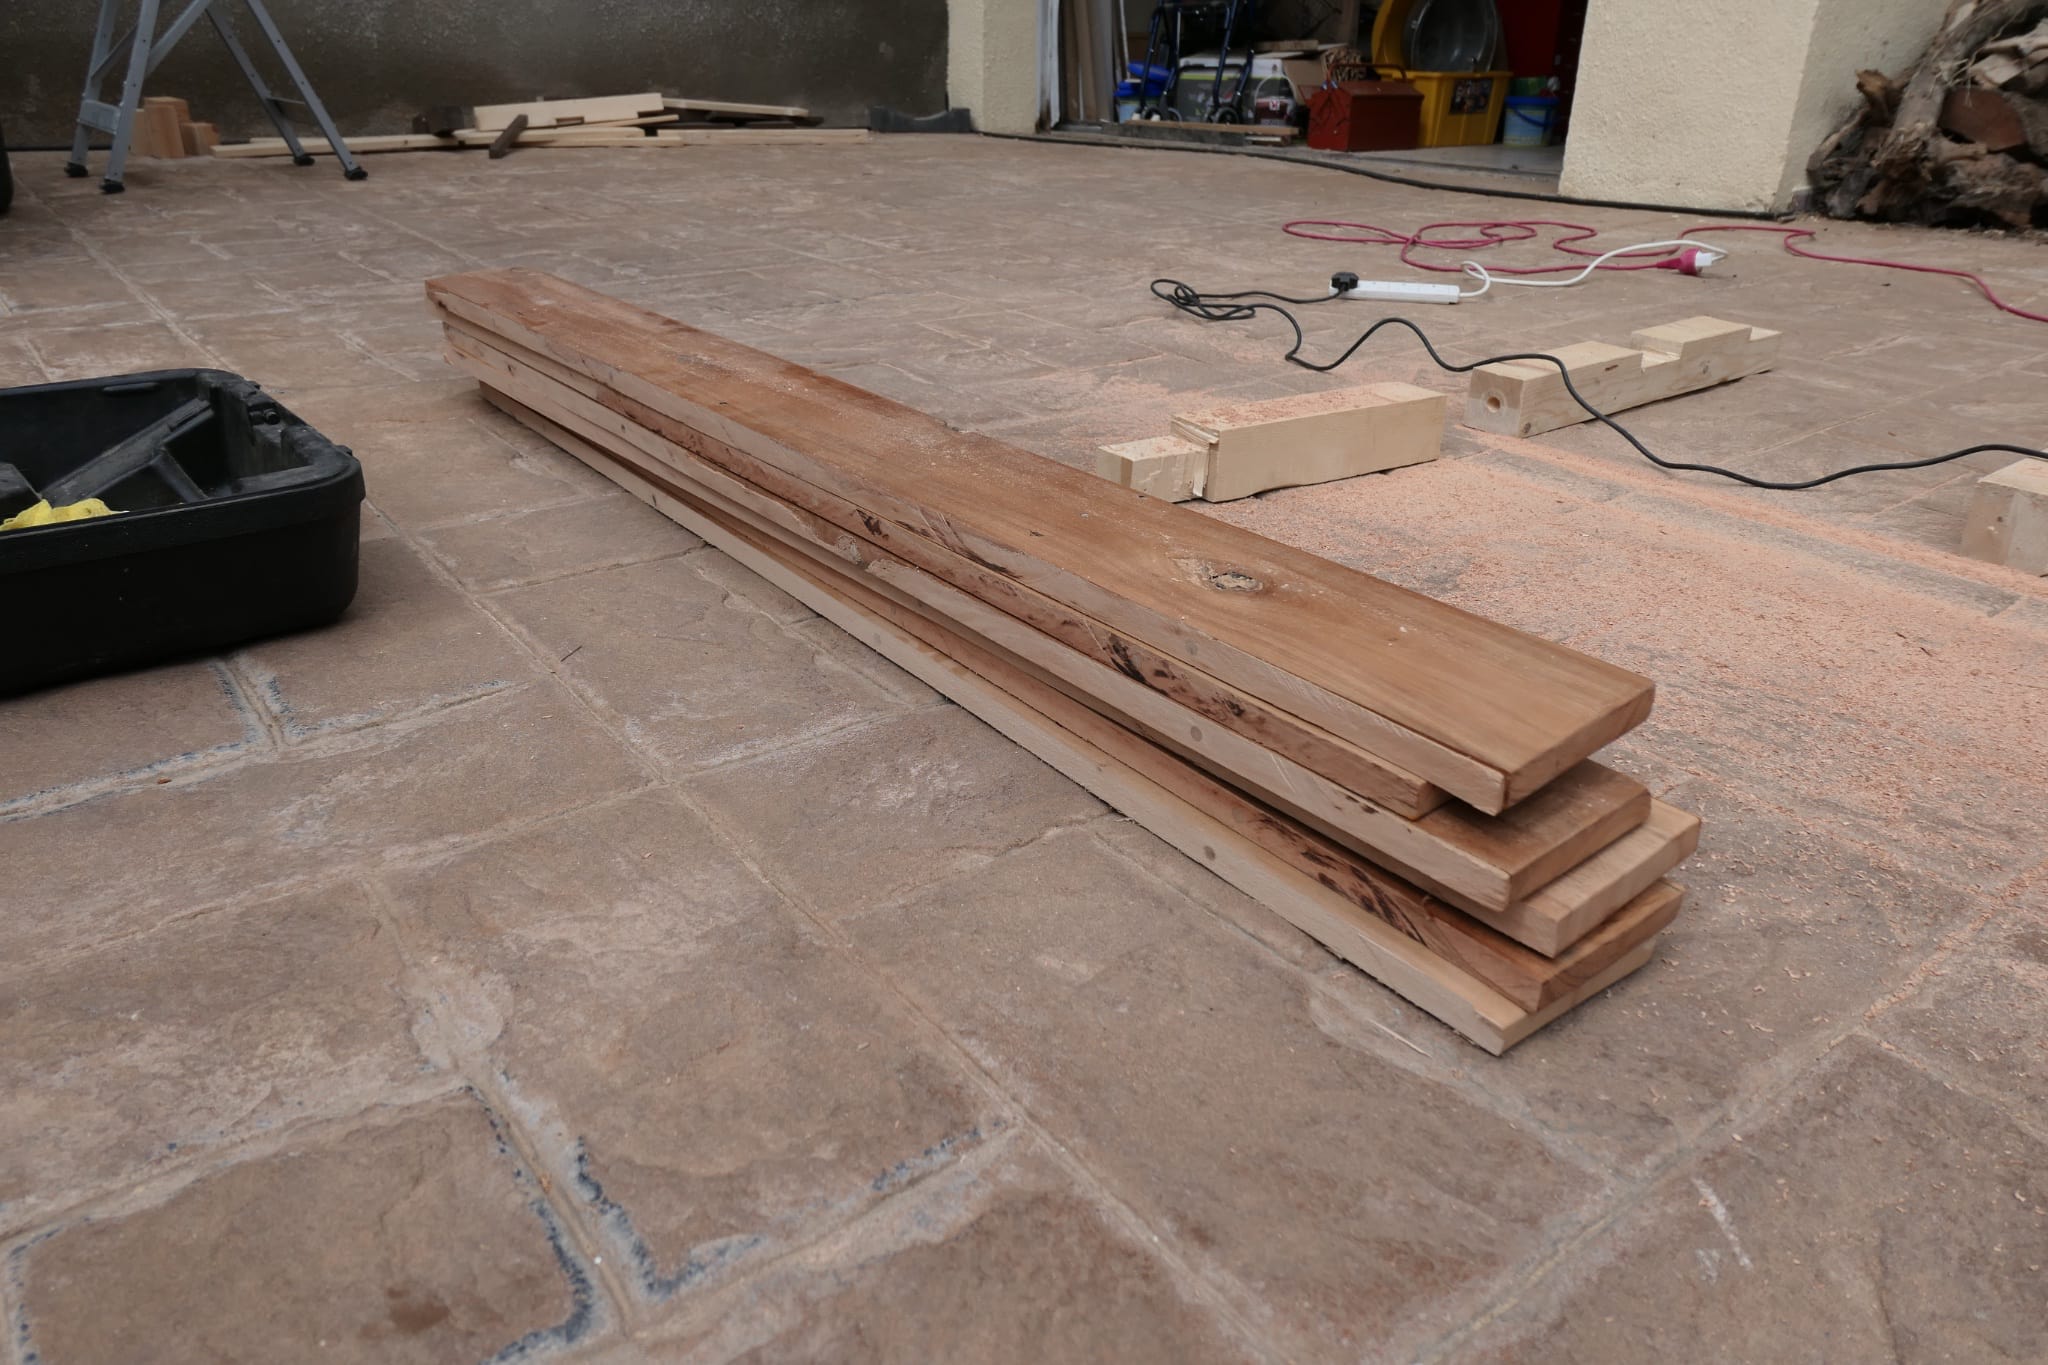
The original top was laid out and ready to be jointed and planed. I managed not to lose much width when I cut the table up, and I hoped the finished table would not be much smaller.
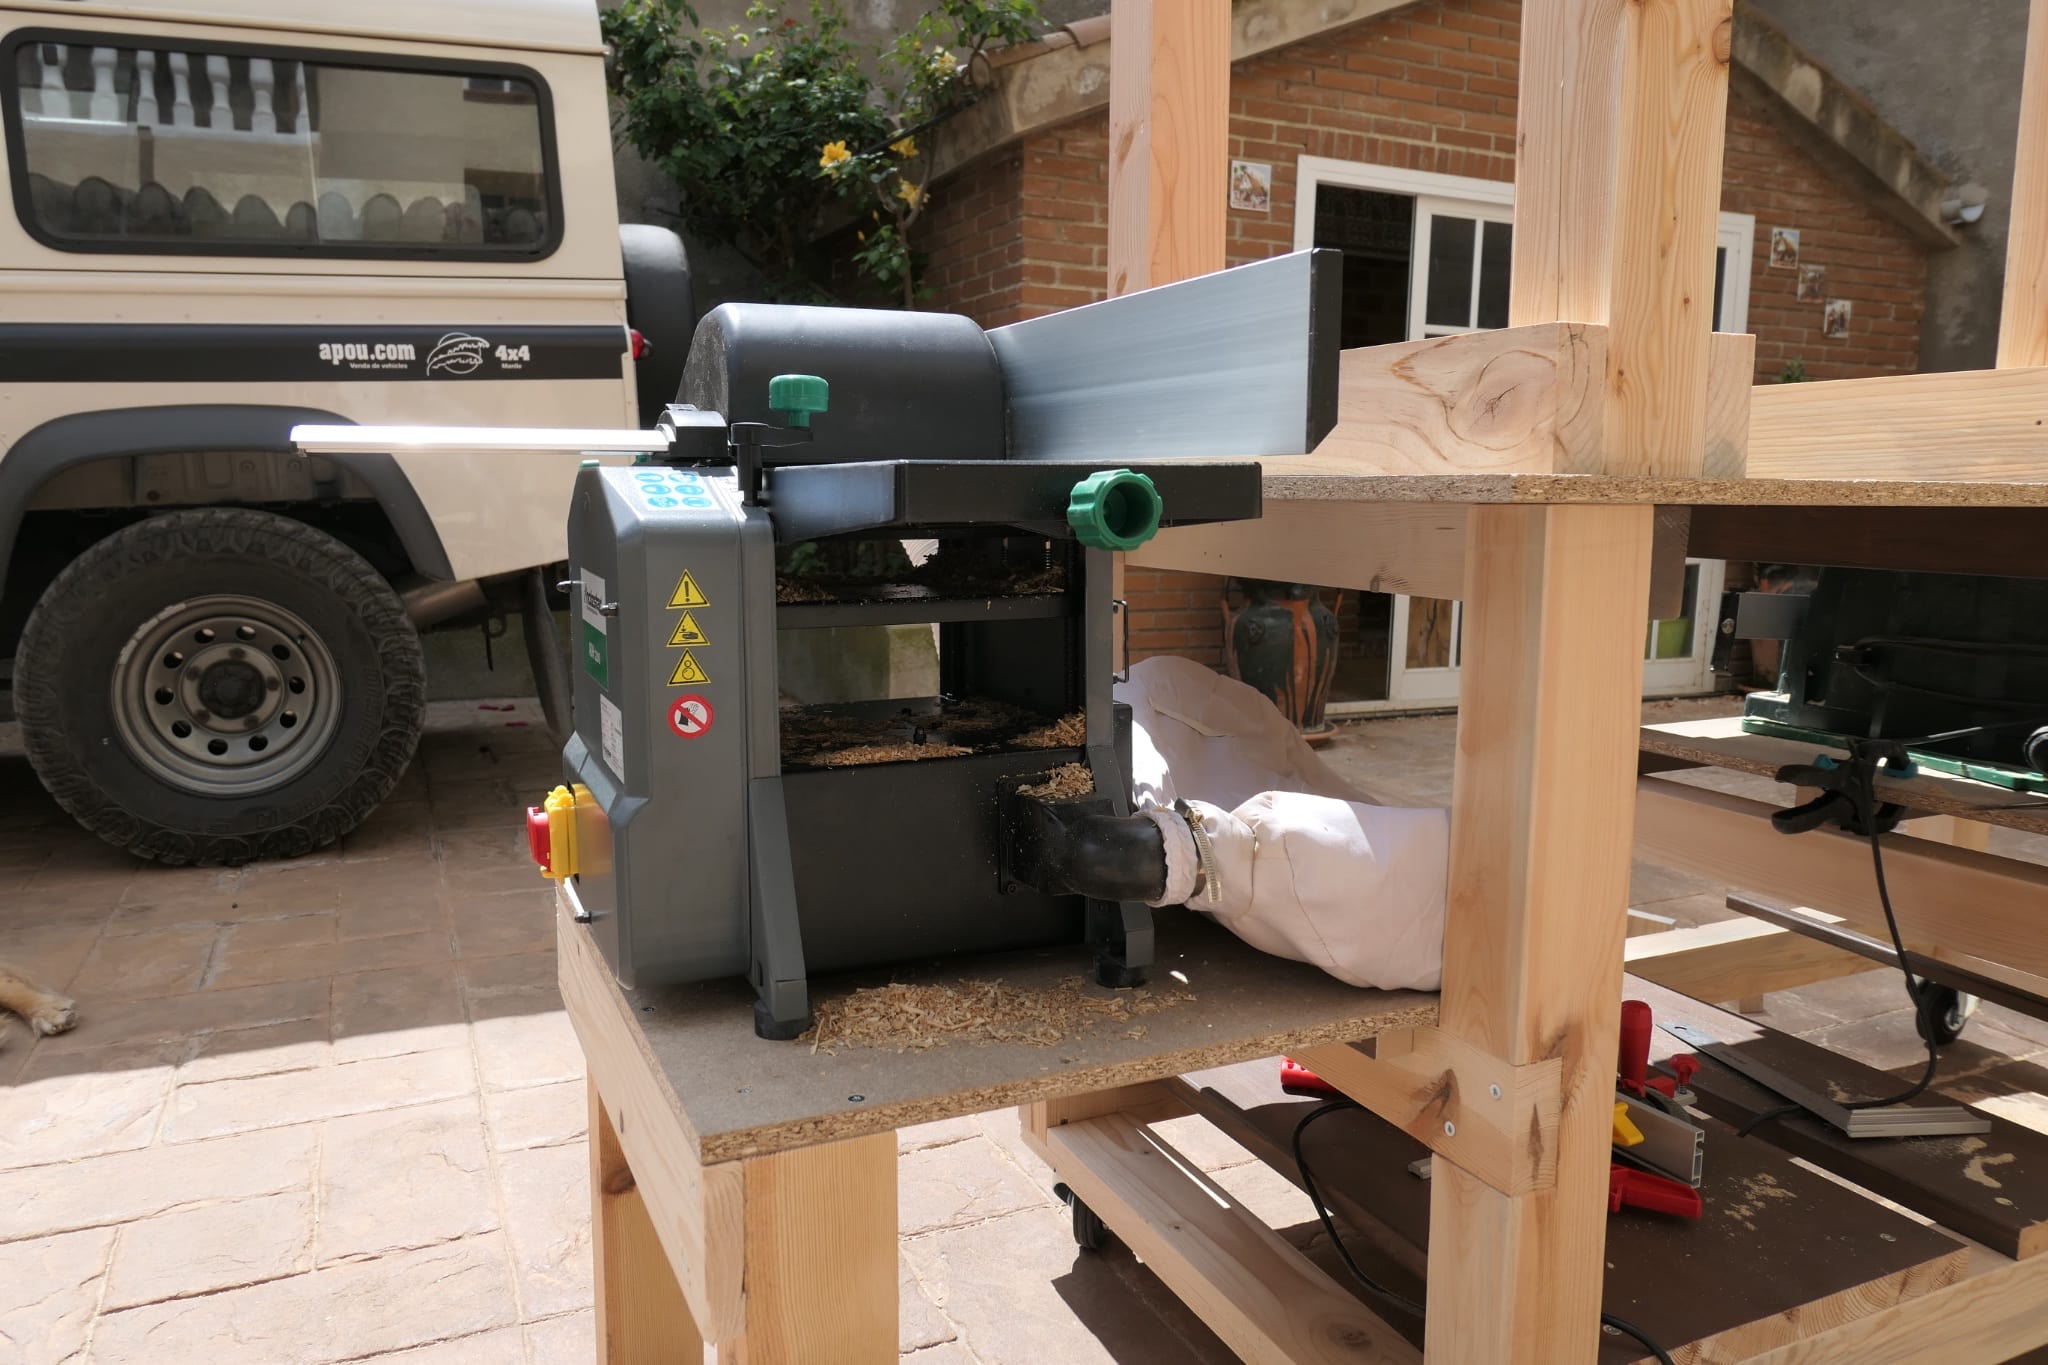
This is the second planer I got after the first one broke, was replaced and then the replacement broke again. It is the same design but from a different manufacturer and appears to be made of tougher stuff.
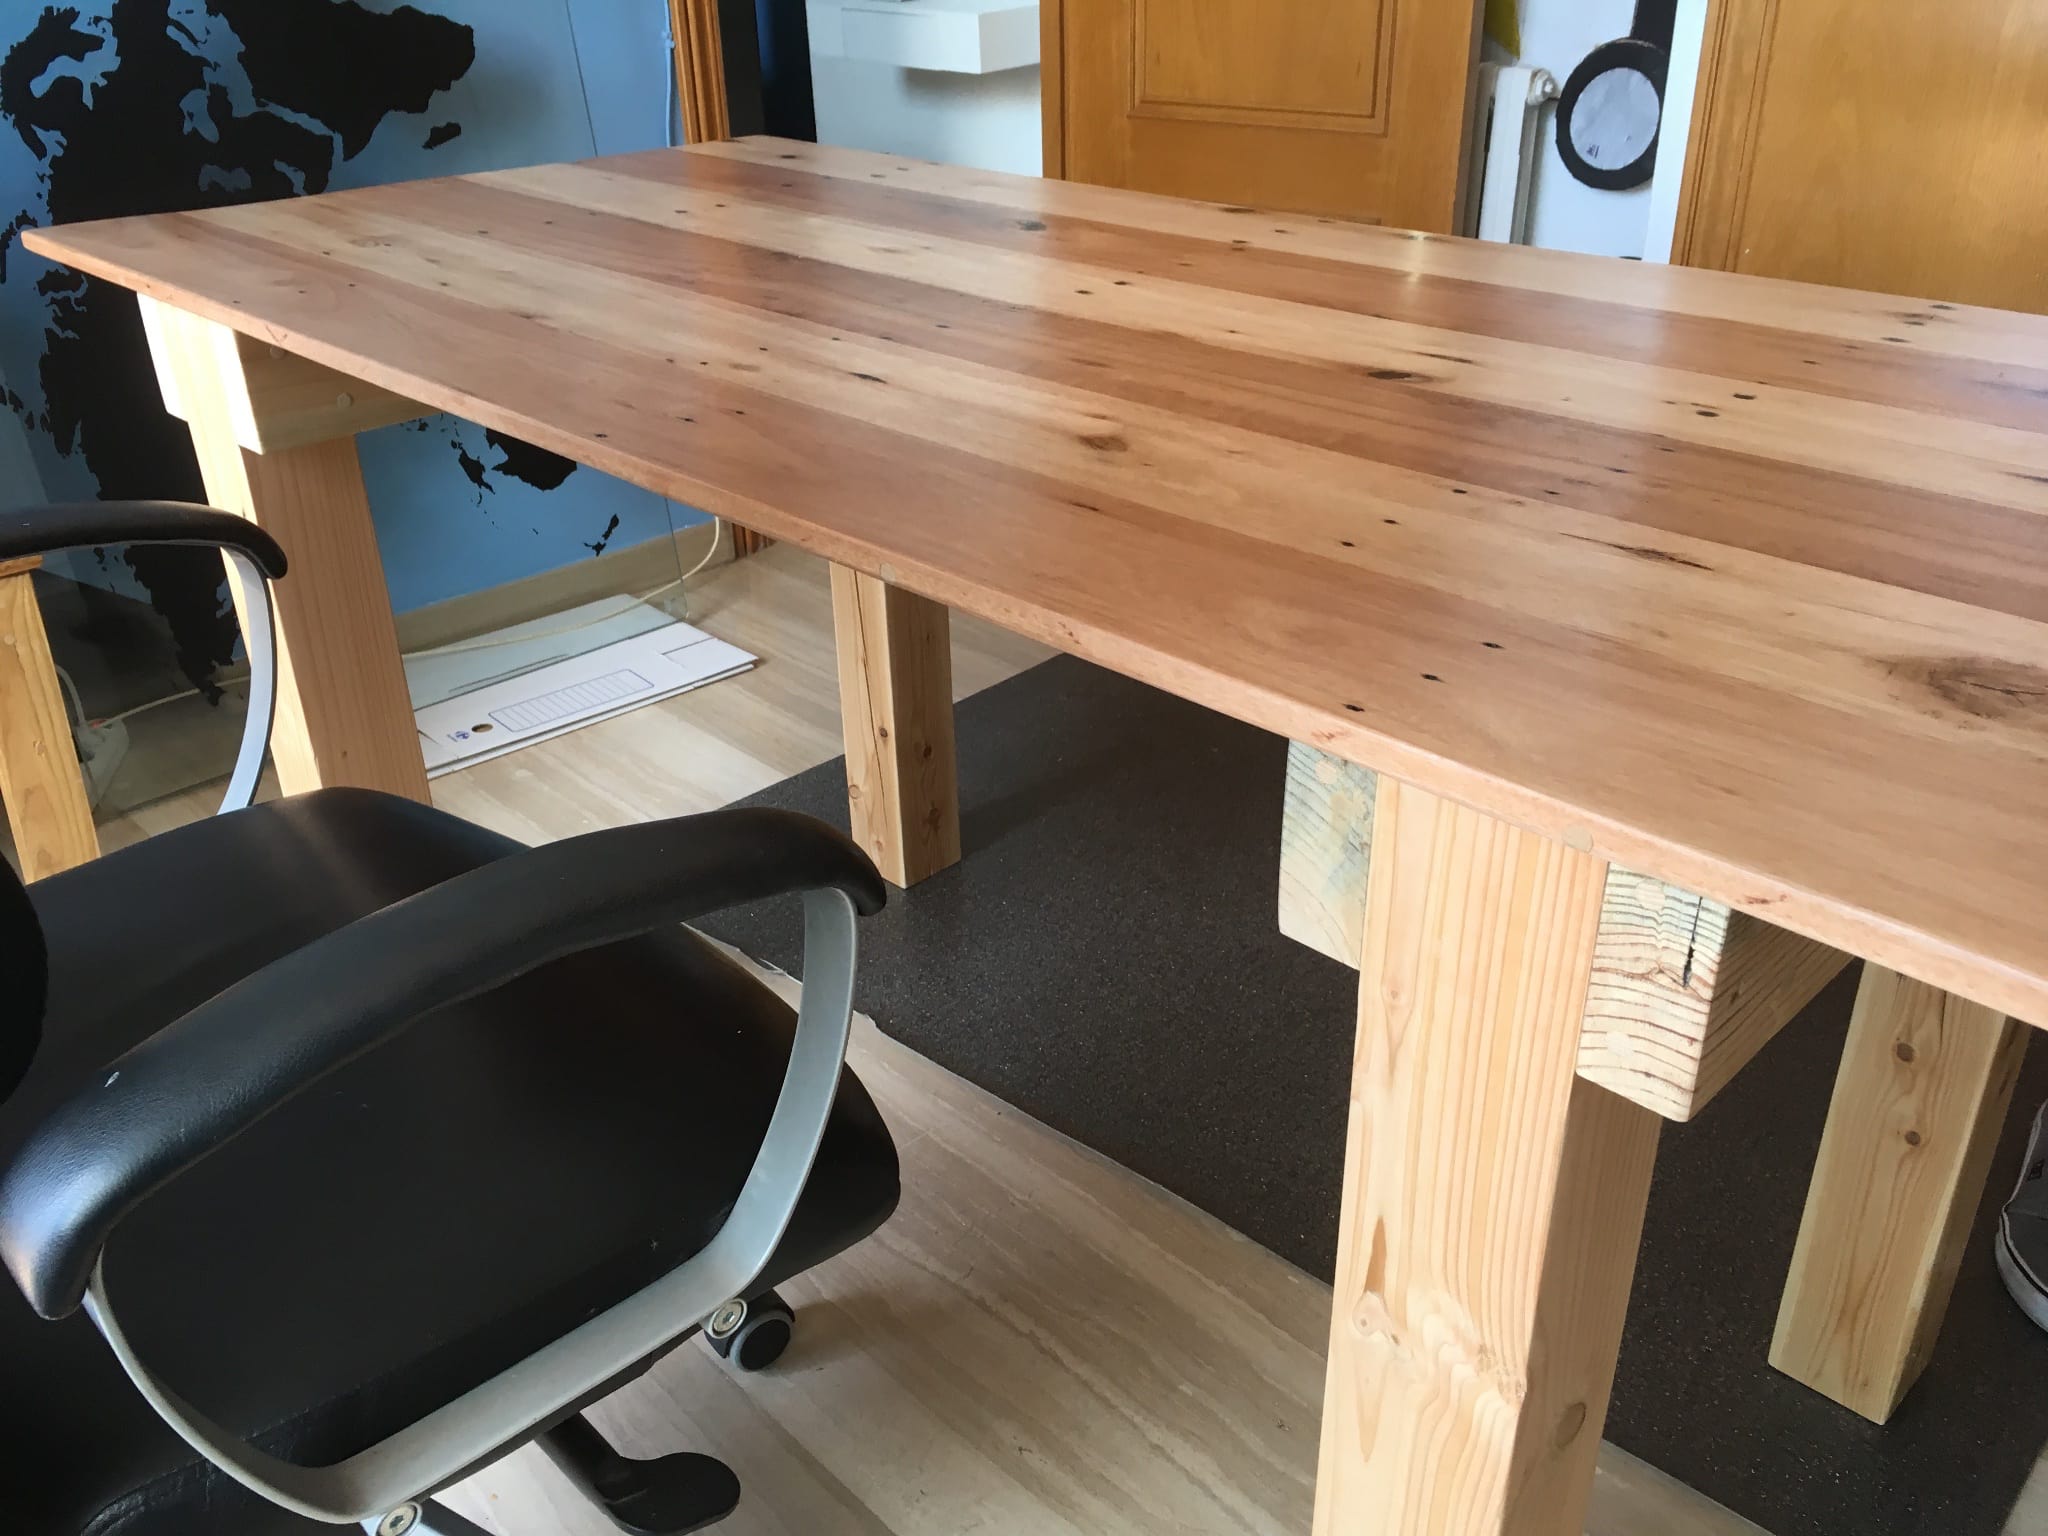
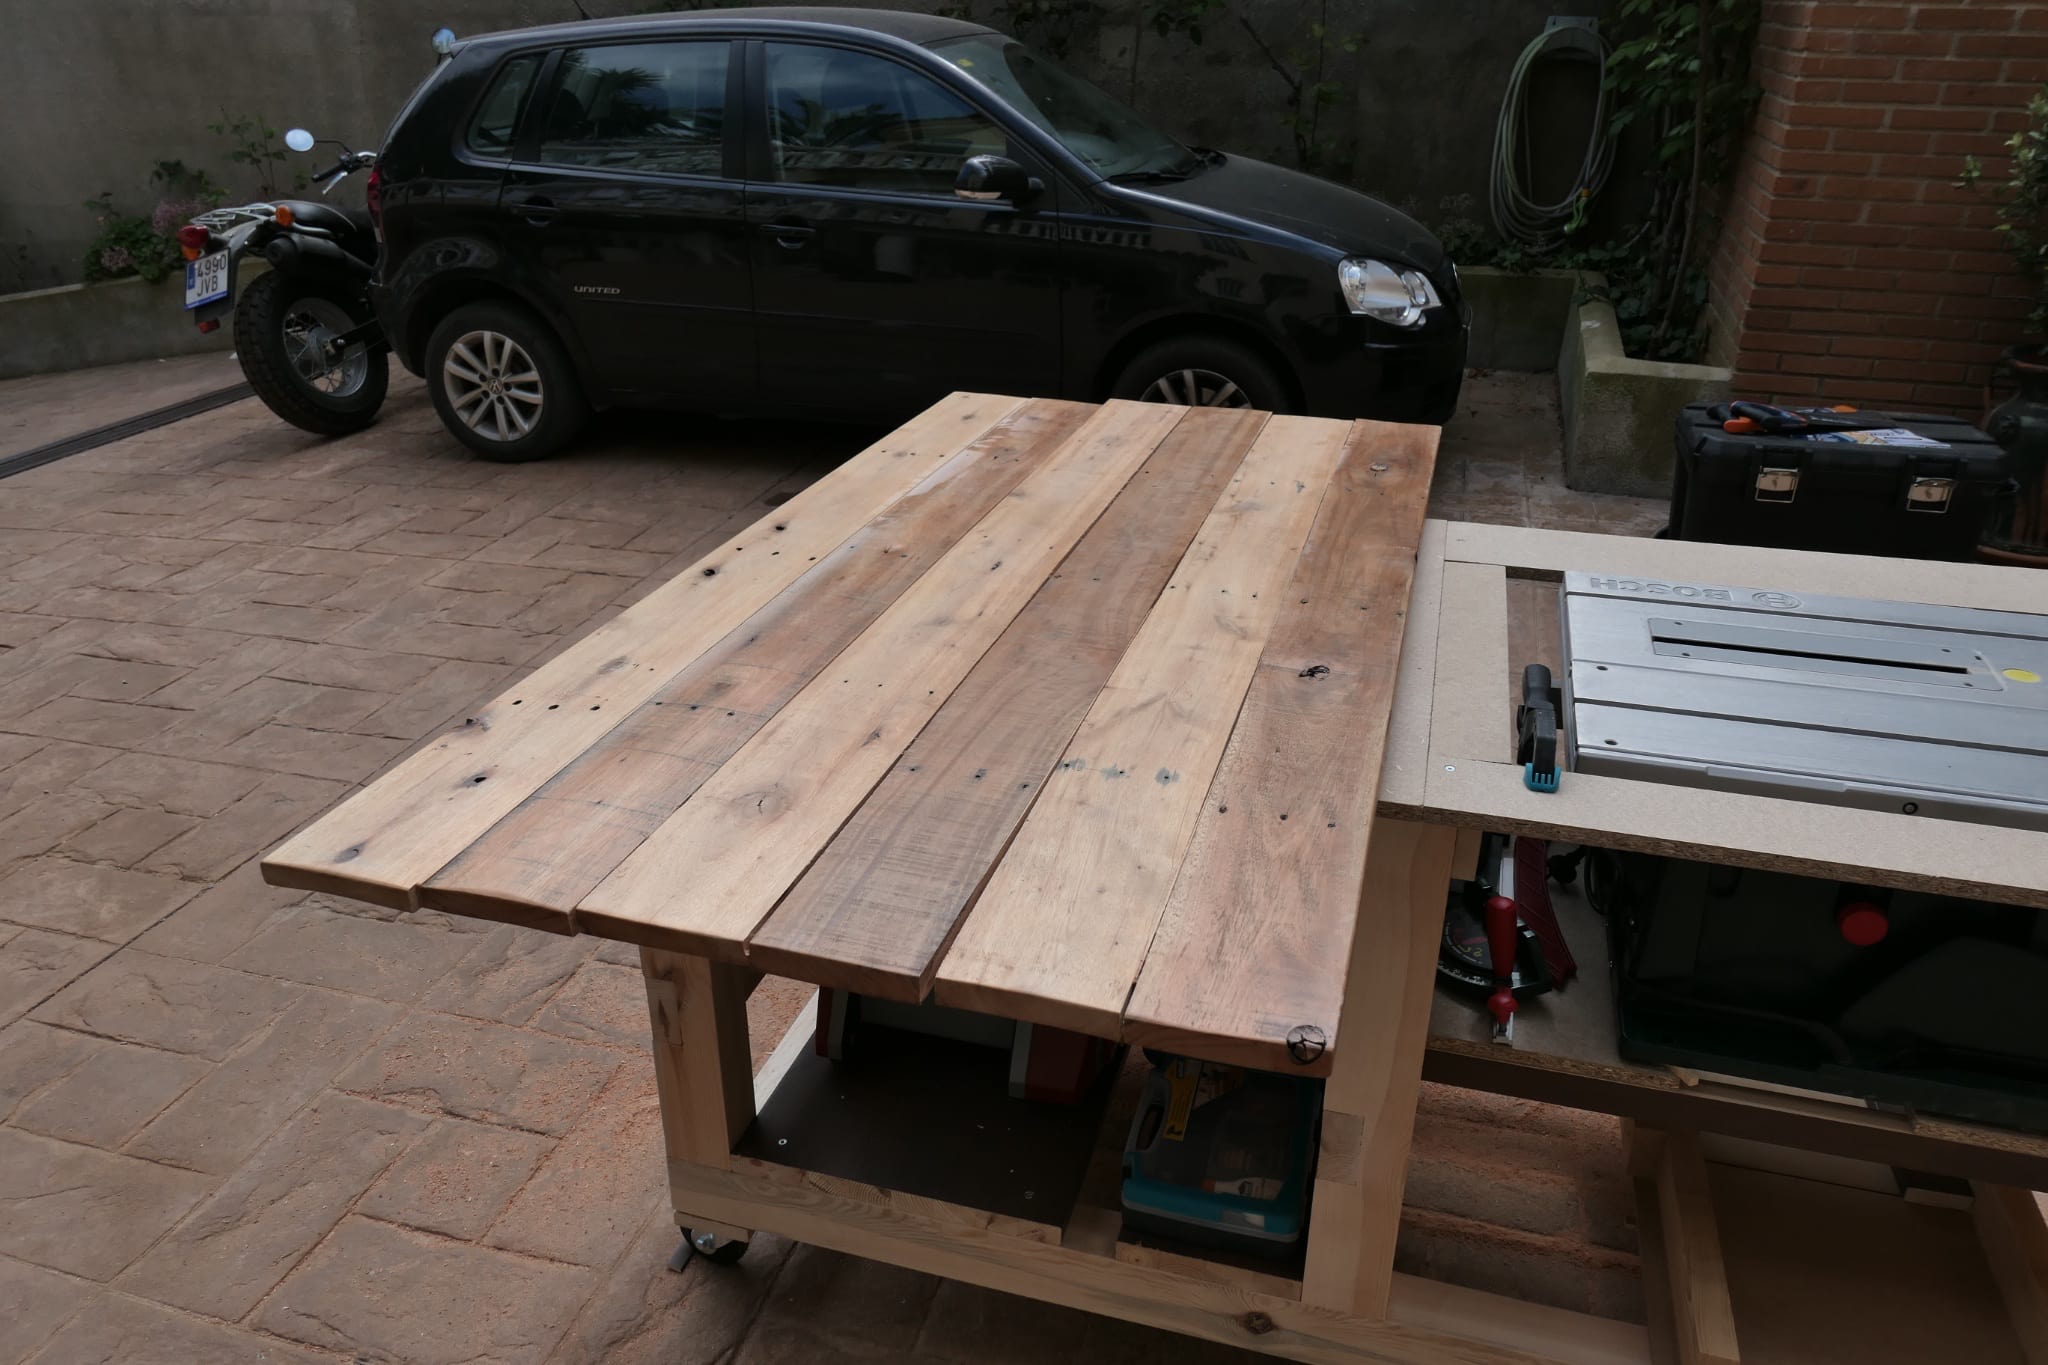
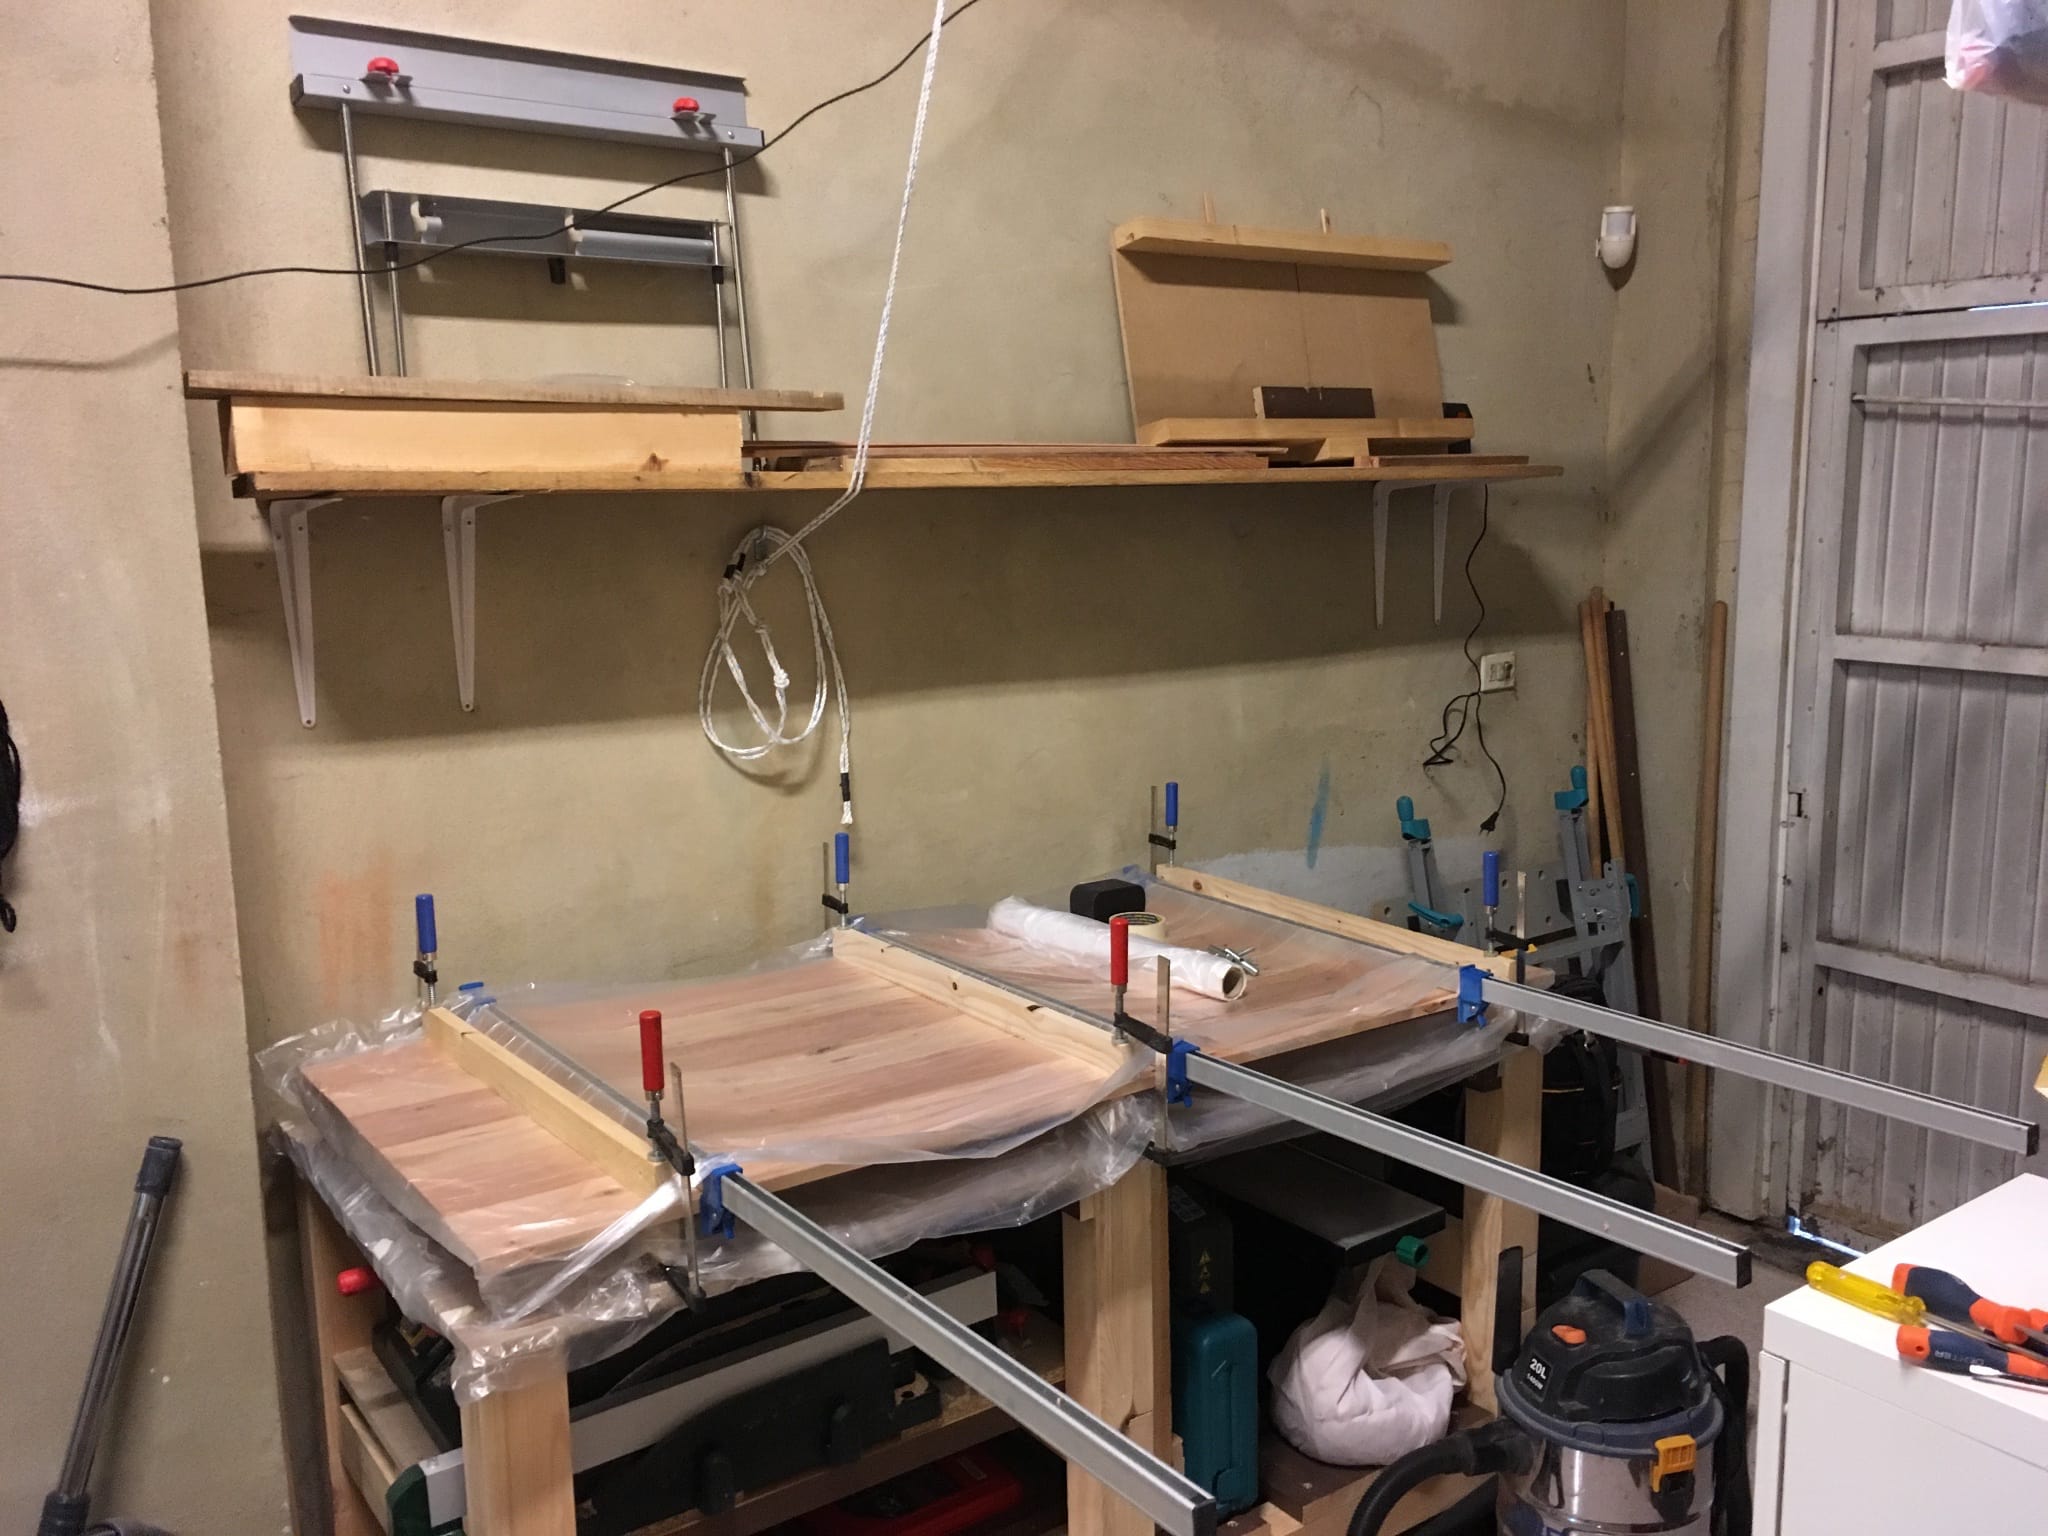
I decided to rebuild the frame for this table too, for the same reason as the second desk: the table was awkward to use with chair armrests. I glued up the table top the same way as before with dowels and clamps.
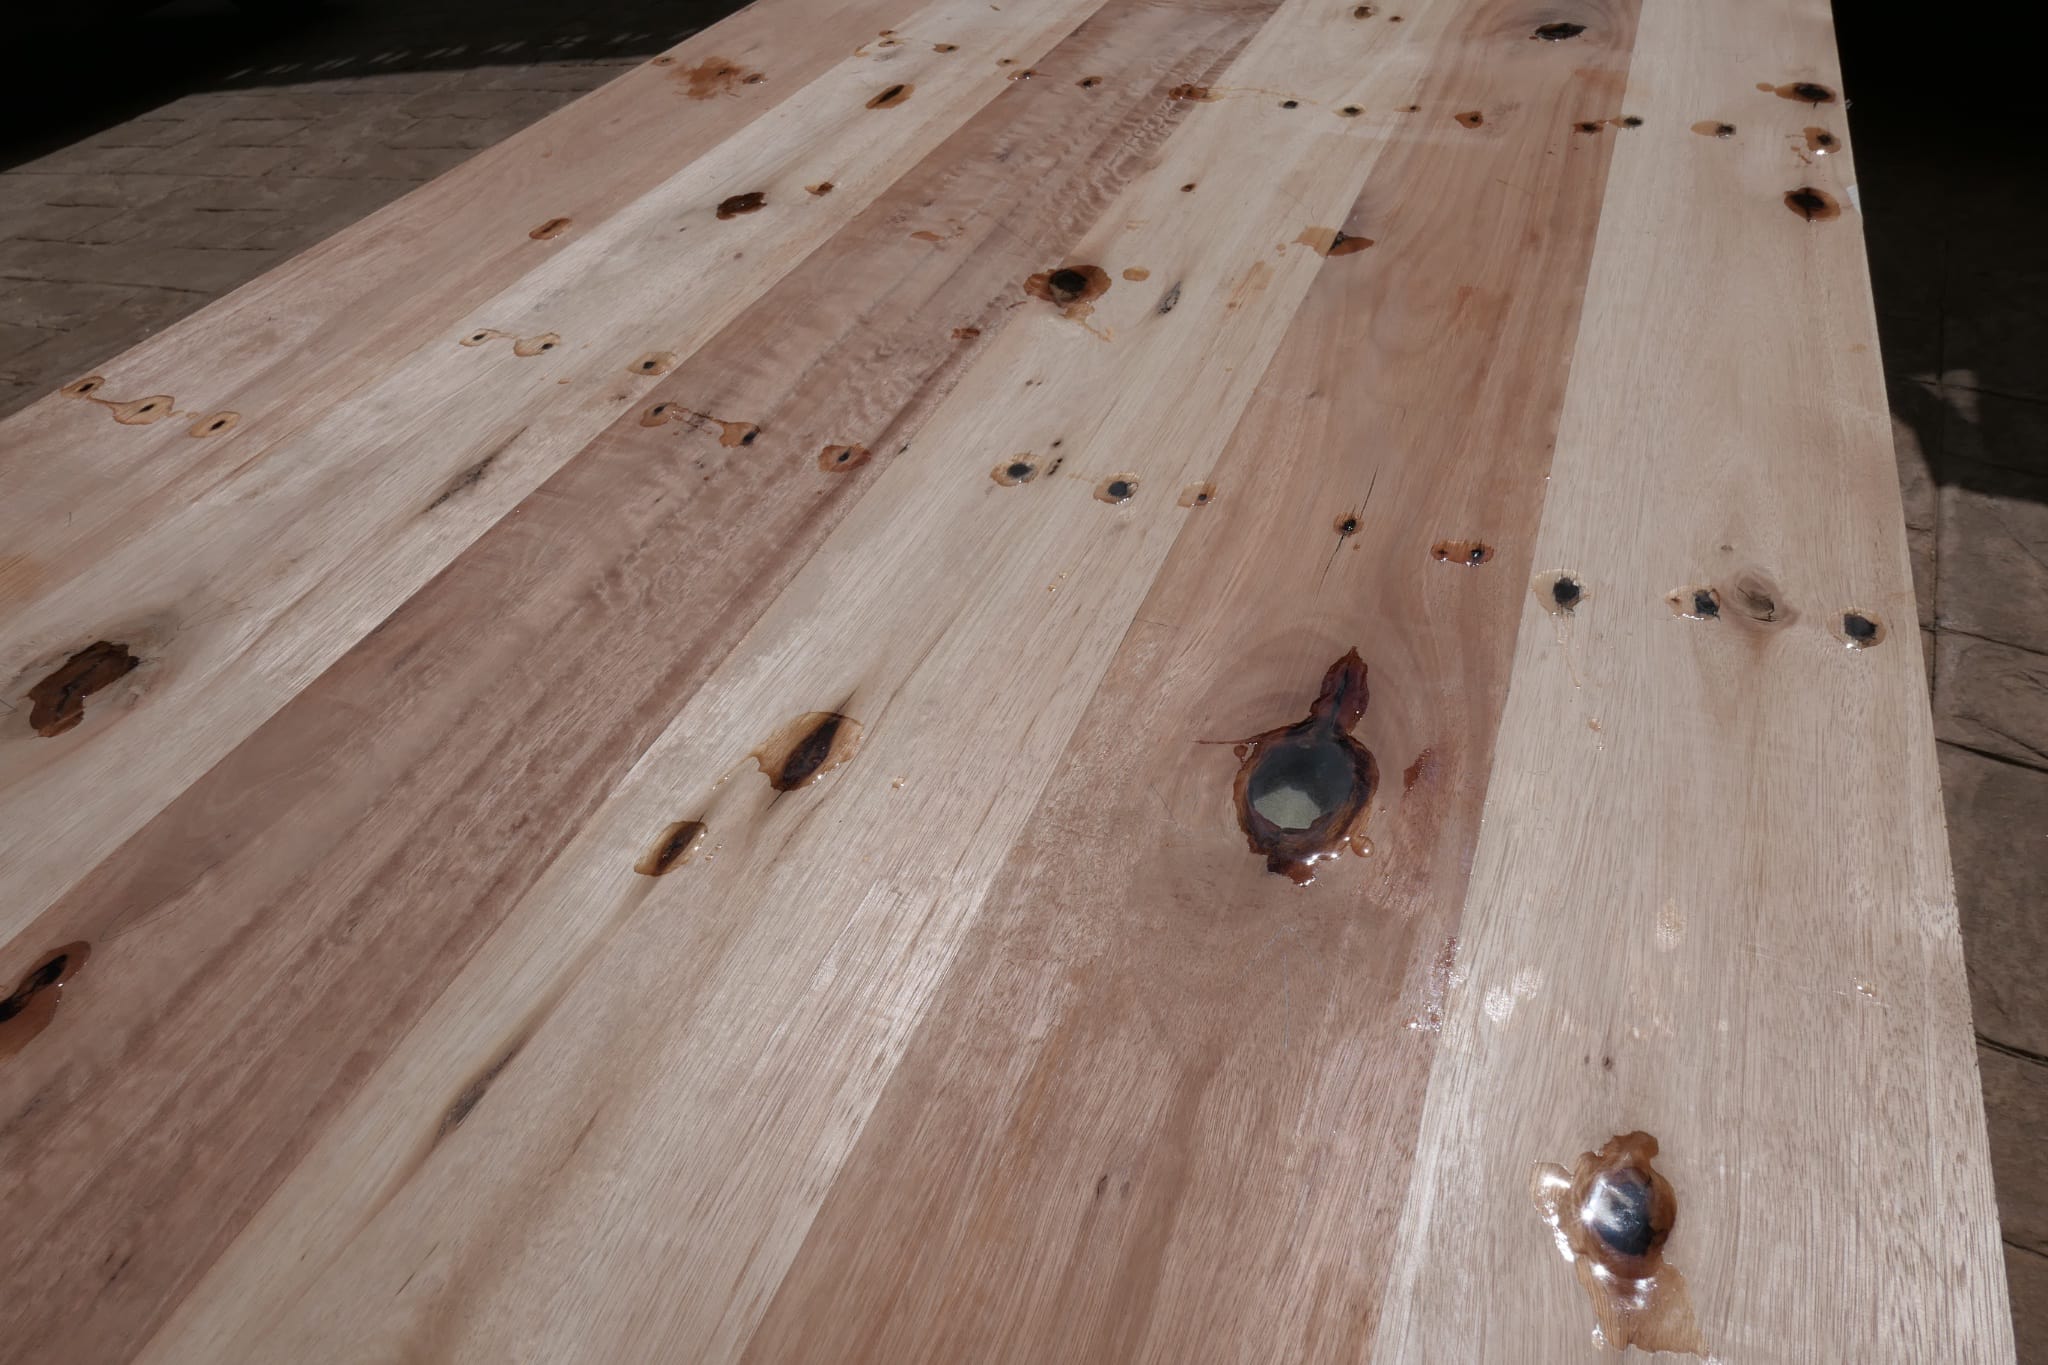
After the planing, many of the knots fell out of the wood. I filled them up with a clear resin, although I think it would have looked better with some black dye in them, as they dried with a very slight yellow tint.
After a lot of sanding to remove the extra resin, the table was varnished again and came out very smooth and flat, no need for the glass anymore.
Overall, I’m pleased with how the resurfacing turned out. It was a fun project, and I learned a lot along the way. The table looks great, and it’s now much more functional without the need for a glass cover.