Apr 23, 2017
Building a Workbench
Replacing a quick, cheap workbench with a stronger and more versatile one that integrates my table saw and other tools.

I had built a workbench quickly for a previous project with cheap wood and a bad design. It did not last long before it became wobbly and needed replacing.
After using a small workbench and the floor it was time to build a real workbench. One that would also integrate my table saw and provide storage for other tools.
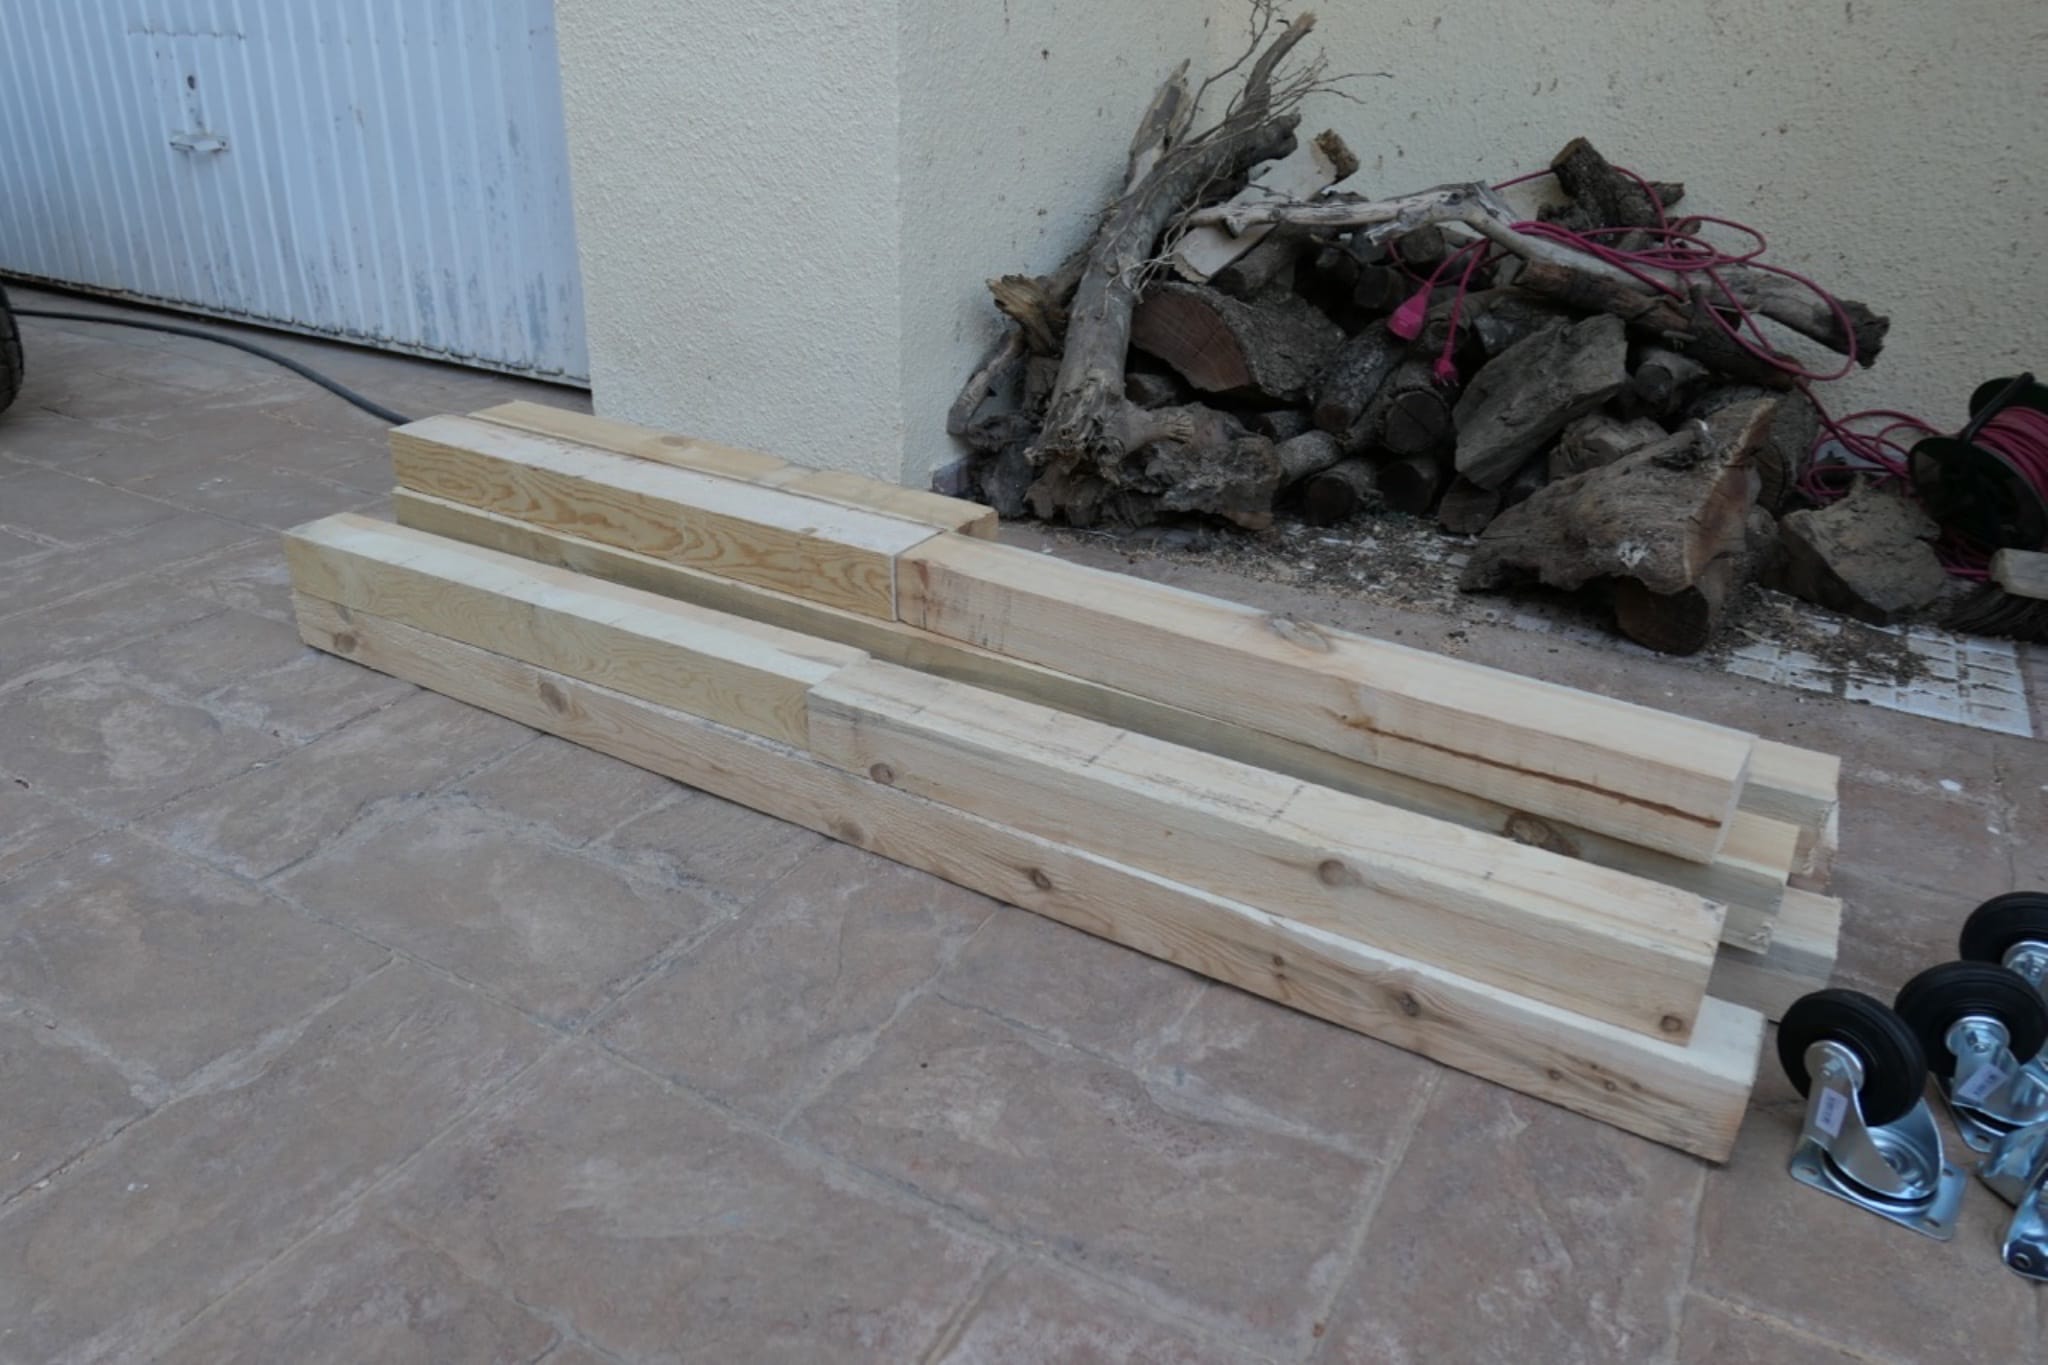
The wood for this project was roughly planed reclaimed wood. I also bought heavy duty industrial wheels as the salvaged IKEA ones on my previous bench were starting to break.
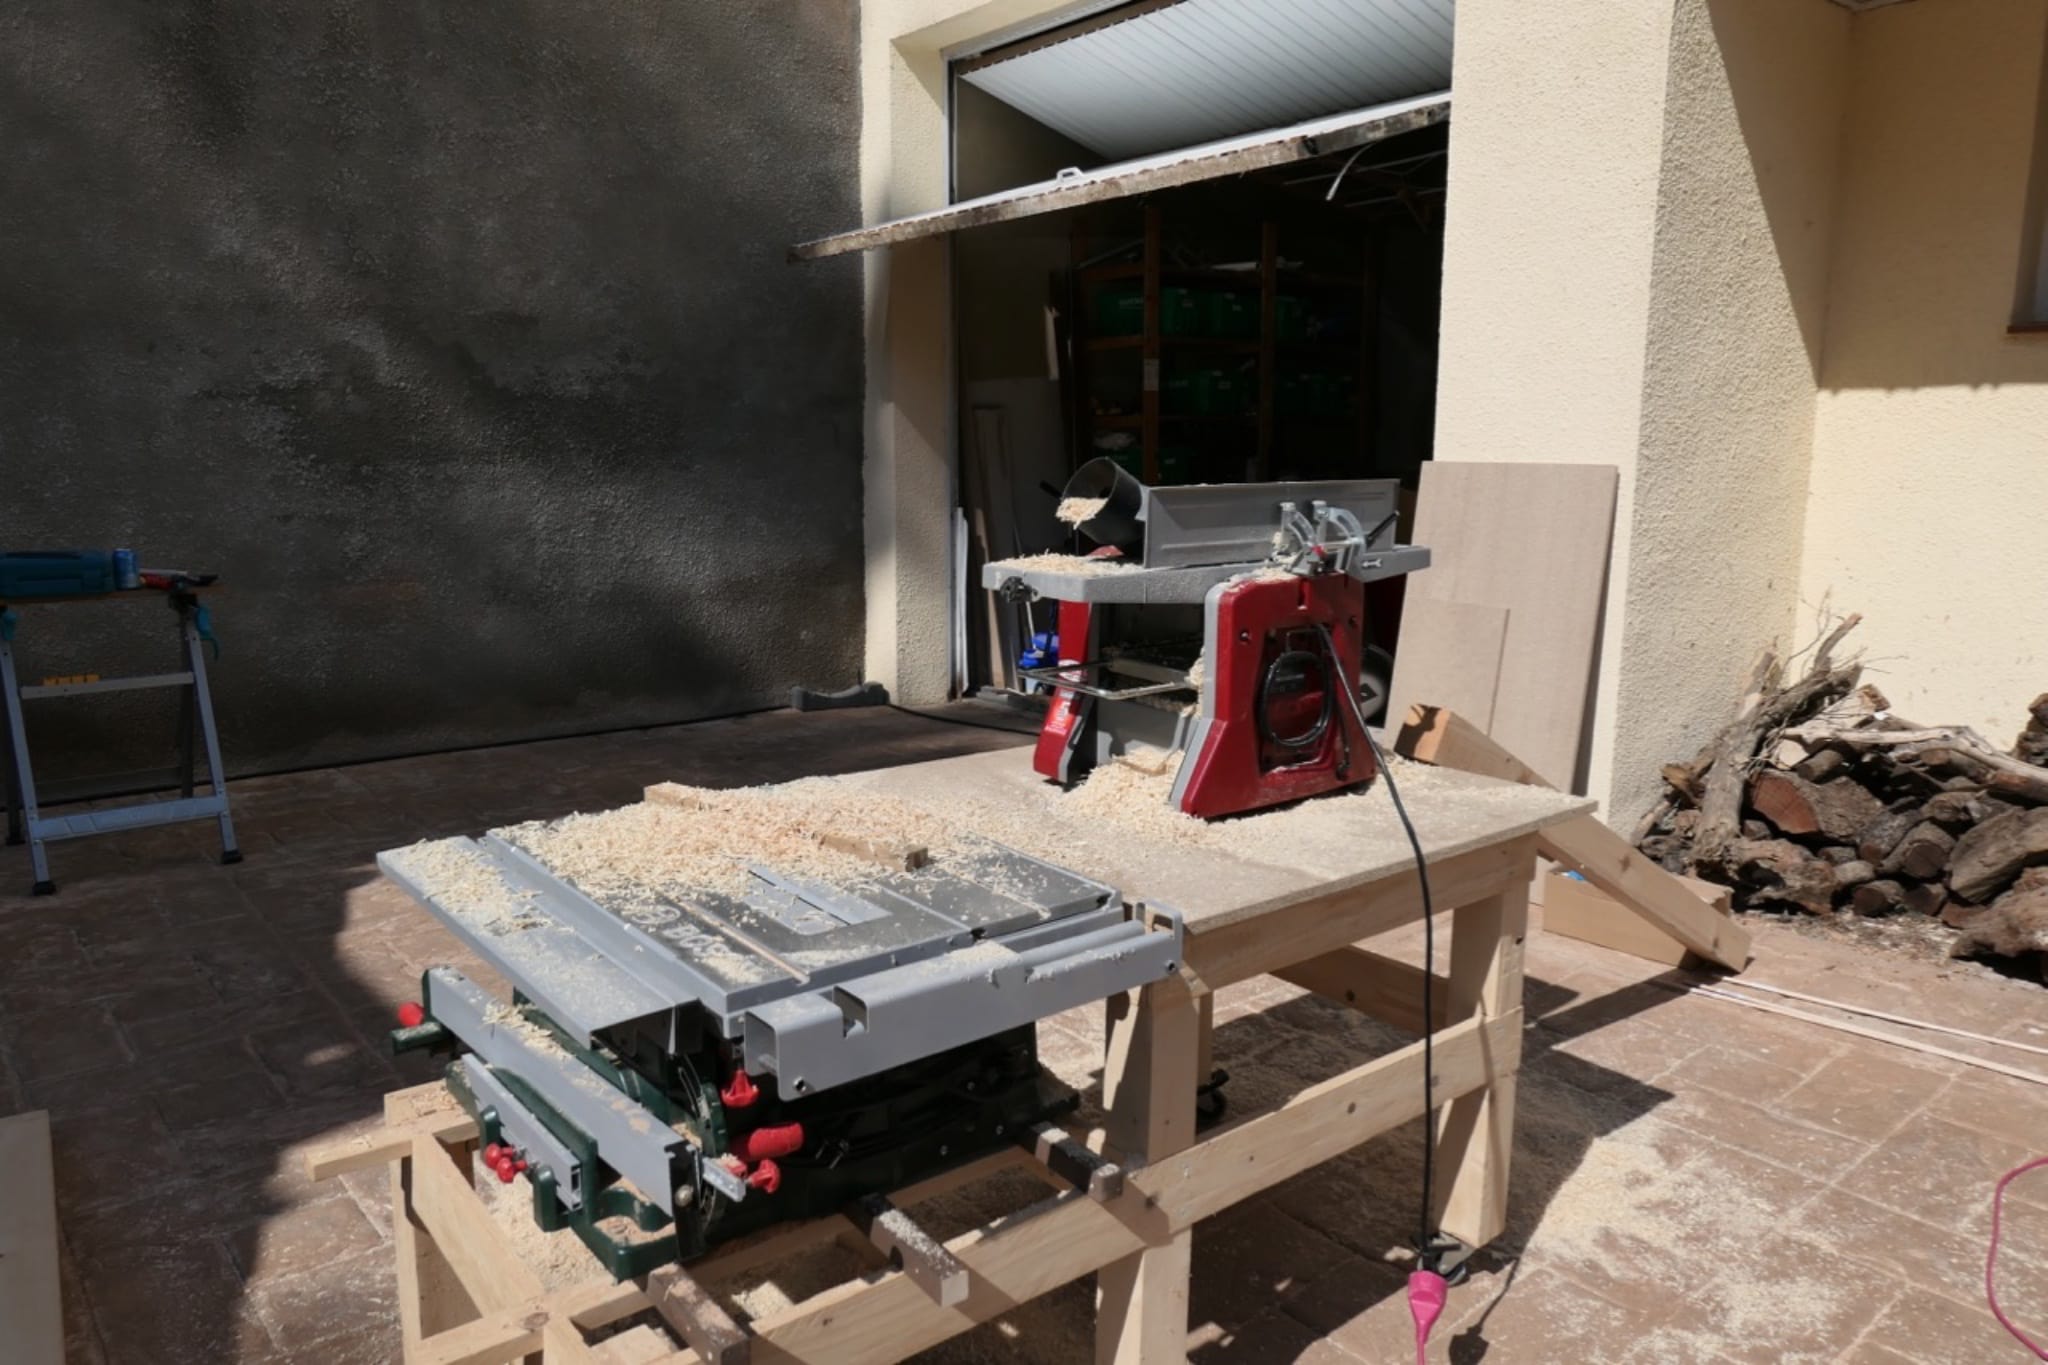
With my new thickness planer, I jointed and planed the wood to make it perfectly square and smooth.
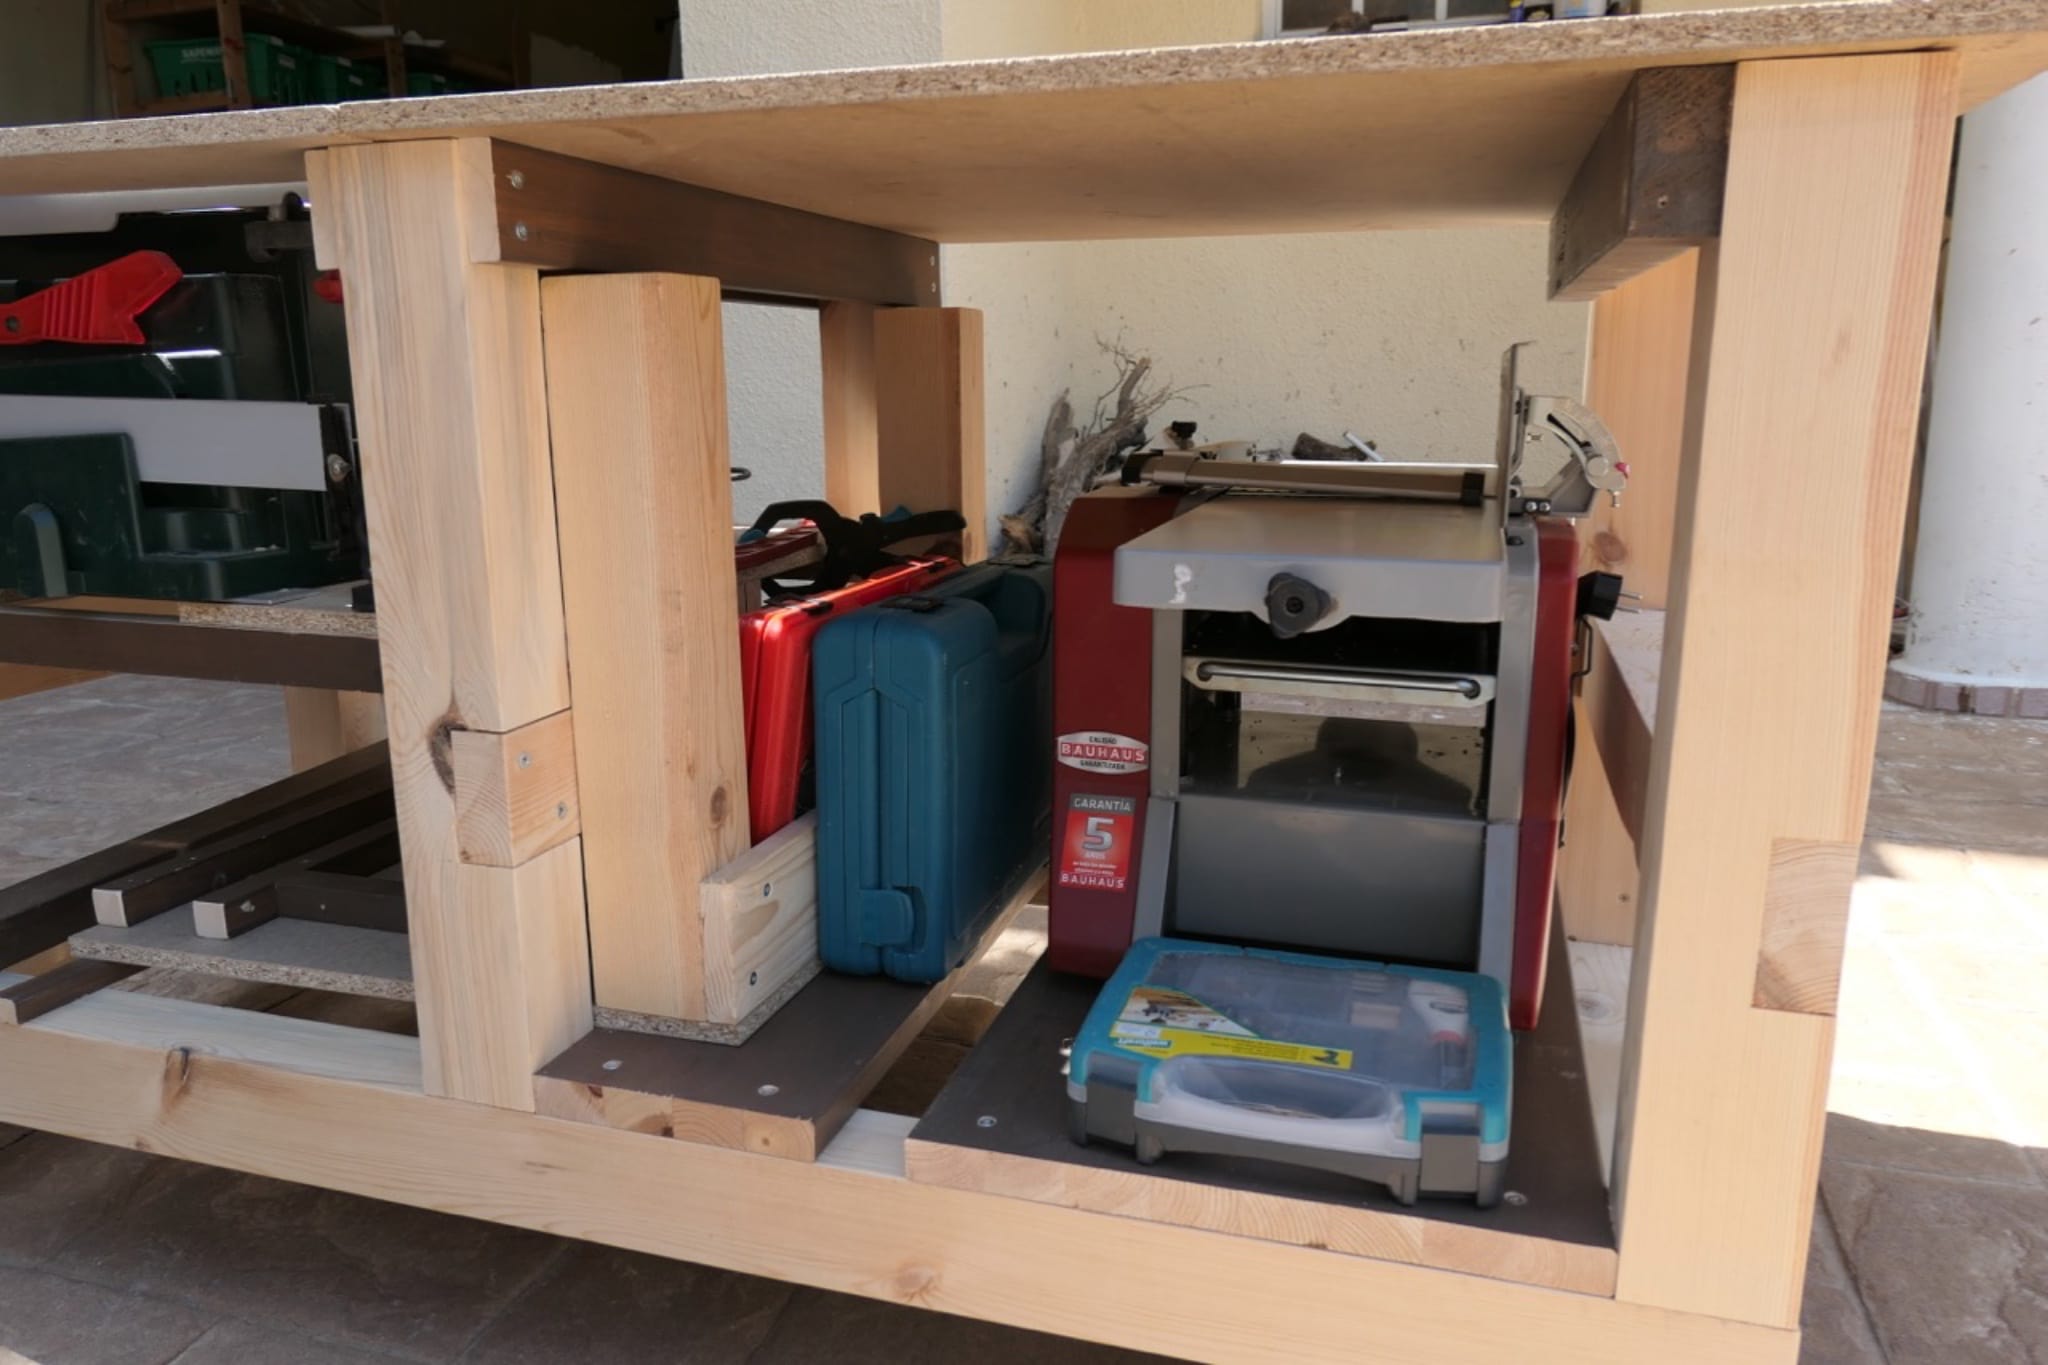
I wanted an MDF top for the bench but it was sold out, so I settled for chipboard for now. The table saw is currently sat on wooden supports; eventually this will be replaced with chipboard/MDF and have adjustment screws to keep it level with the rest of the bench.
The bench is held together using lap joints and is very sturdy. I attached the other two pieces of chipboard to go alongside the table saw and bolted on the wheels.
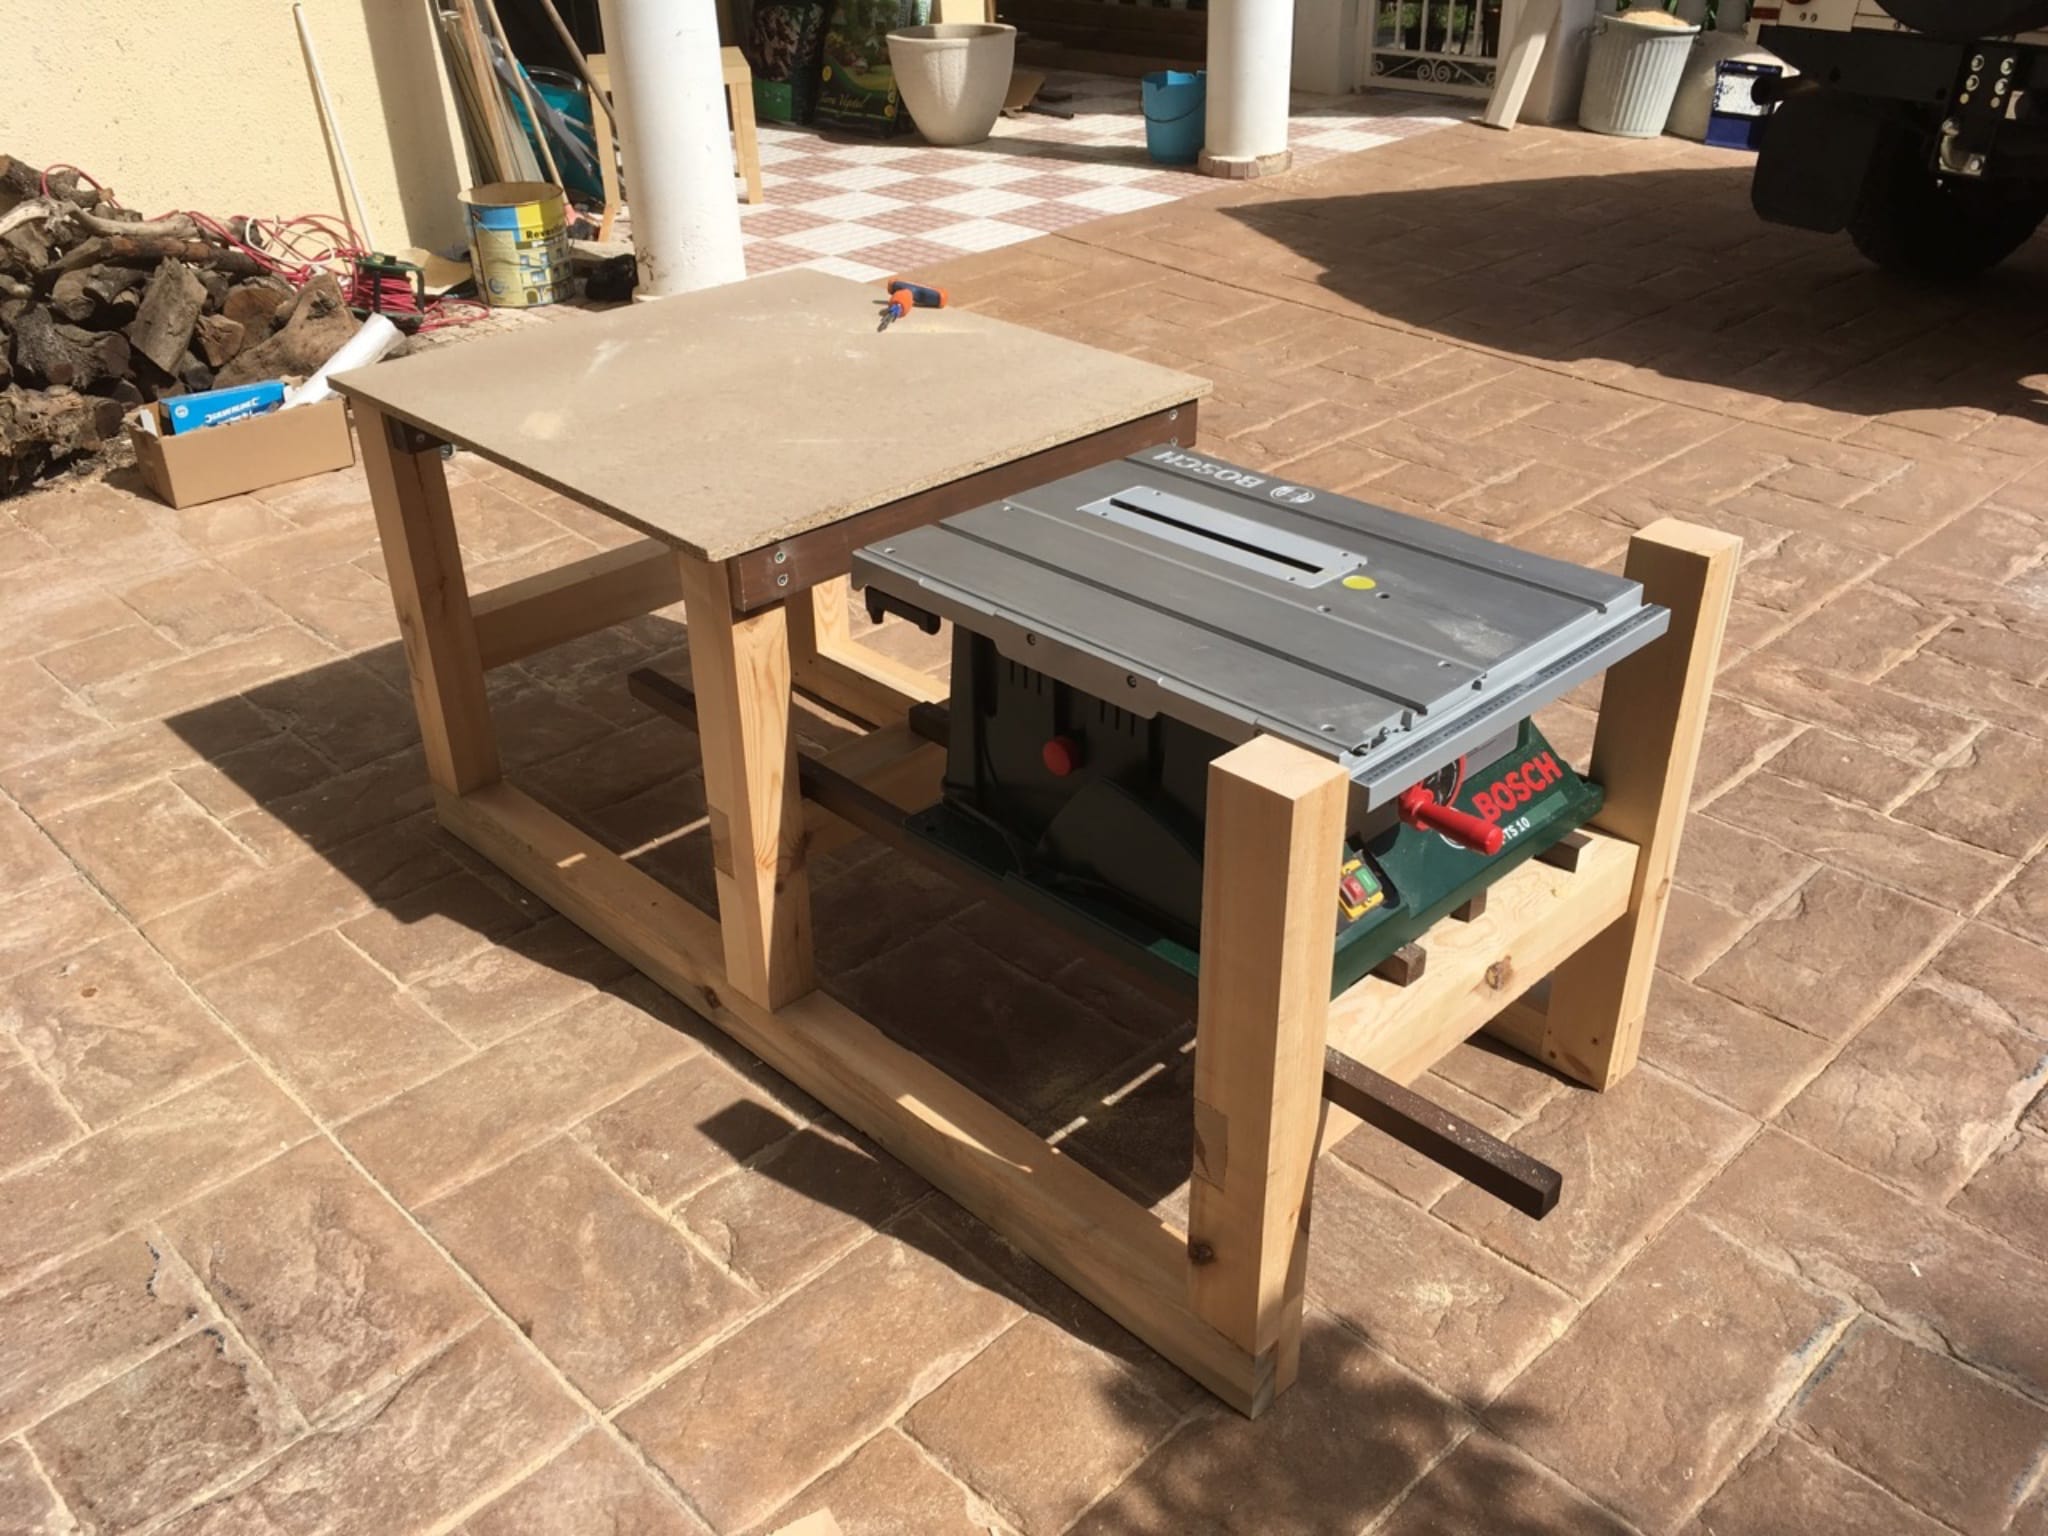
I built a smaller bench that sits off the end to hold the planer at a better height. I will add some screw feet to the bottom so it can be levelled on uneven ground.
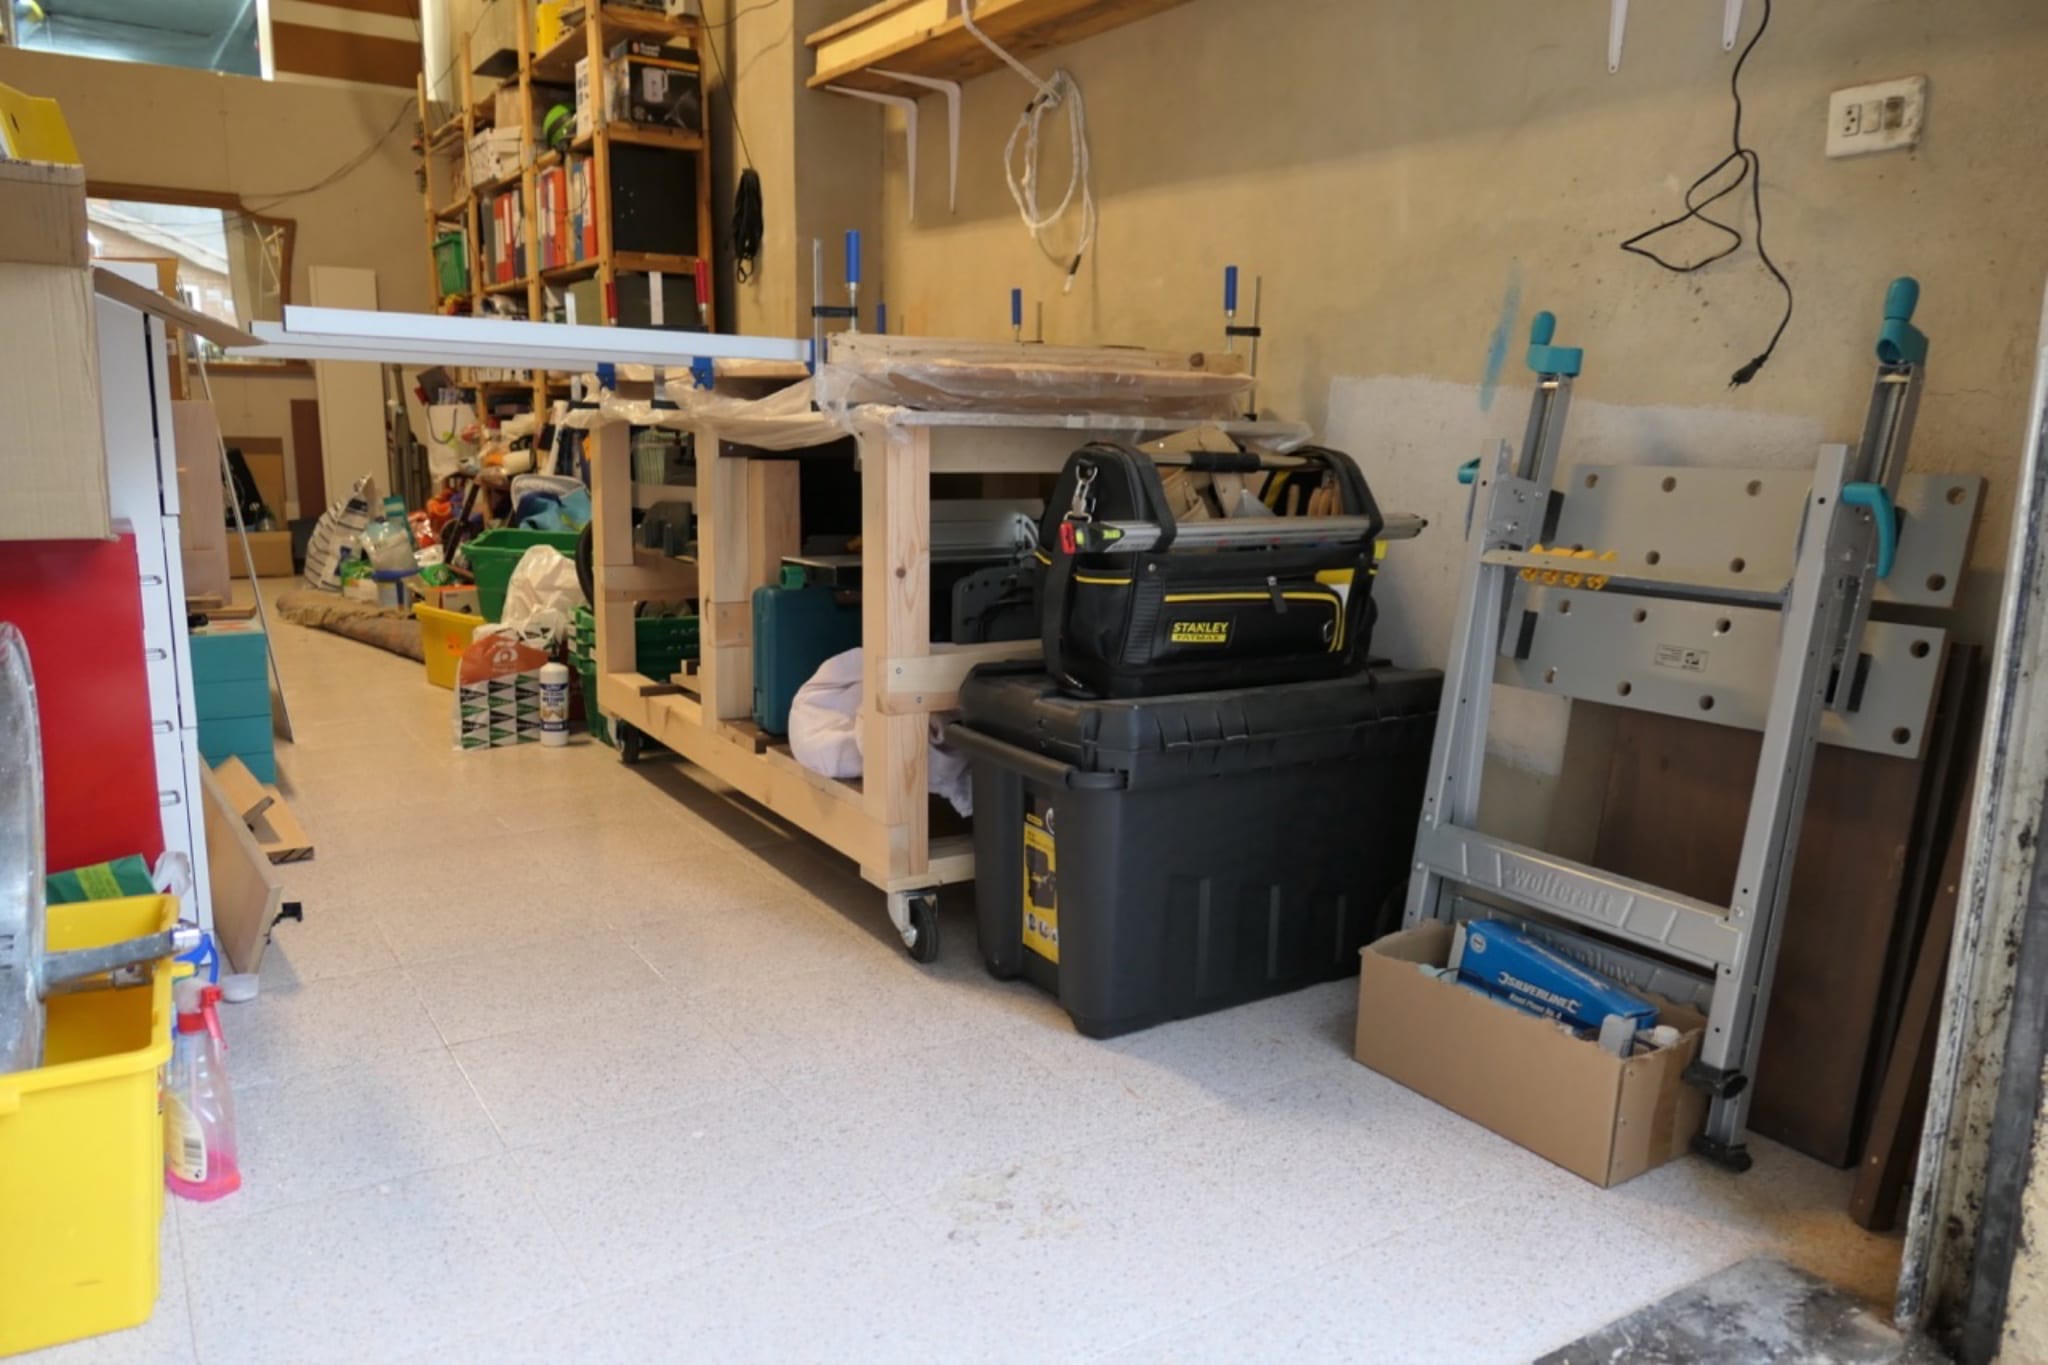
Here the bench is packed and filled with tools, the smaller bench tucks tidily under the table saw and the planer fits behind it. There is also room to add another shelf under the main table area.
Finally, my tools can be packed away neatly and take up much less space in the garage.